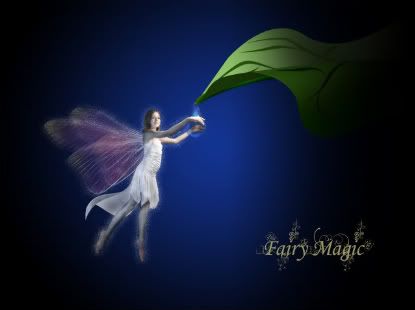
So here is what I did, I took a photo of a beautful girl who one of my teenage daughters is friends with in which Robert had already cropped the girl out of the photo and added fairy wings to her when he created this image:

He had saved a lot of the different elements as one piece, so I had a lot of work to do to bring it back to just the girl and the wings. Then I used the "fill" tool in Corel PhotoPaint to turn her into a silhouette.
Of course, then I still needed a background. That's when I realized I had a moon and stars in the night sky graphic that I had created many years ago. It was perfect as the backdrop for my silhouette fairy!
And the resulting silhouette fairy art (which I will be adding to my shop right away) is this:

If you have a photo editing program and know how to crop something out of a photo, then you can do this too. You just need a pretty background. Maybe a sunset or something full of light and color would work. And then you need a photo of a girl; you will have to crop her out of the photo. Next, if you, like me, are not very skilled at drawing butterfly wings, find a photo of a butterfly and crop it's wings out. Paste the wings onto the fairy at a realistic angle. Then use the "fill" tool in your photo editing program, using the color black, to turn them into a silhouette. Then paste both onto the background photo and you're done!
